In this article, we have focused on Arduino, a popular open-source single-board microcontroller, for those of you who are curious and just starting out with electronics.
Arduino, has become quite popular lately among people just starting out with electronics, and for very good reason.
In this article, we tried to explain what Arduino is, why it is preferred and how it is programmed step by step, for those of you who do not know what it is.
What is Arduino?
To summarize, Arduino; It is an open hardware development board used by mechanics, hobbyists, and designers to design and manufacture devices that interact with the real world.
Used to create electronic projects an open source platform with Arduino; both a physically programmable circuit board, also known as a microcontroller, and a piece of software or running on your computer, used to write and load computer code onto the physical board. IDE(Integrated Development Environment).
Why Arduino?

Unlike previous programmable circuit boards, Arduino has to upload a new code to the board. programmer to a separate piece of hardware, also known as does not need; instead just a USB cable it will also work for you. In addition, Arduino of microcontroller while providing a standard form factor that divides its functions into a more accessible package; a simplified C++ using version Arduino IDE It makes it easy for you to learn programming.
What does Arduino consist of?
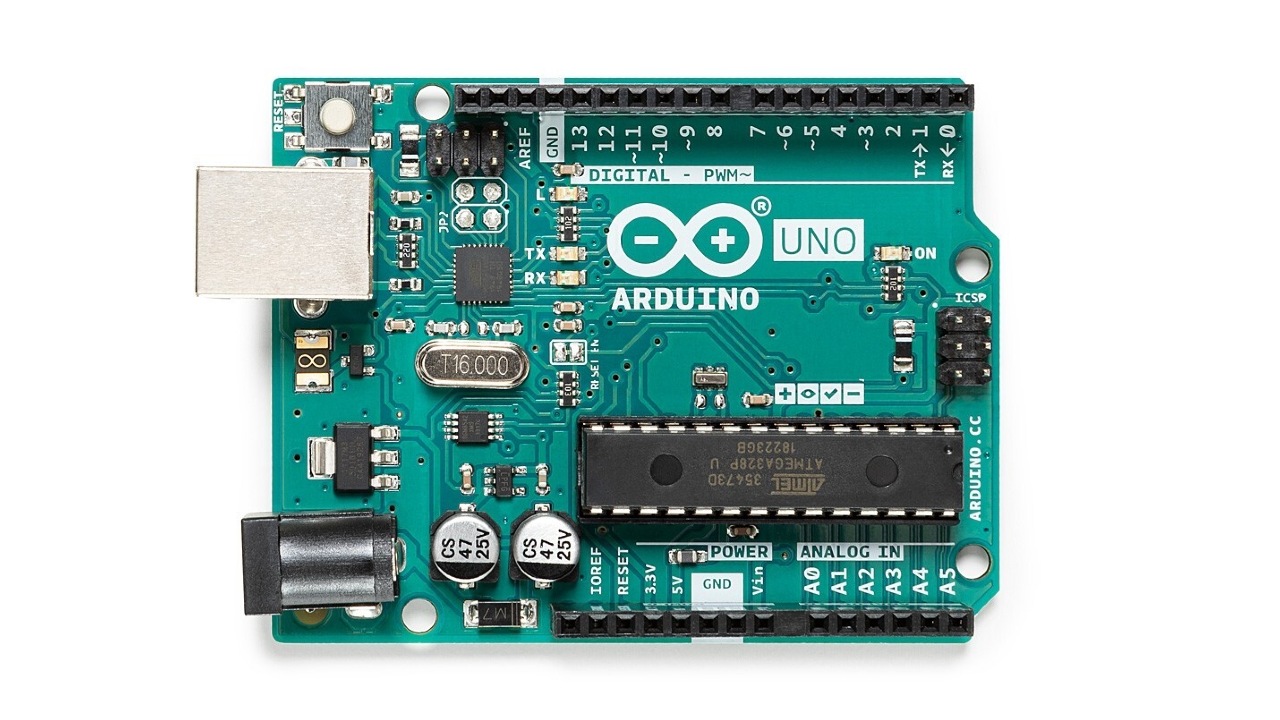
Although the design of Arduinos has changed over the years, which includes a number of different parts and interfaces on a single circuit board, there are some basic parts that you are likely to find in any Arduino.
- Pins
- power connector
- microcontroller
- Serial connector
- Other minor components
Pins
Used to connect to various components you might want to use with Arduino two kinds of pins has:
- digital pin
- analog pin
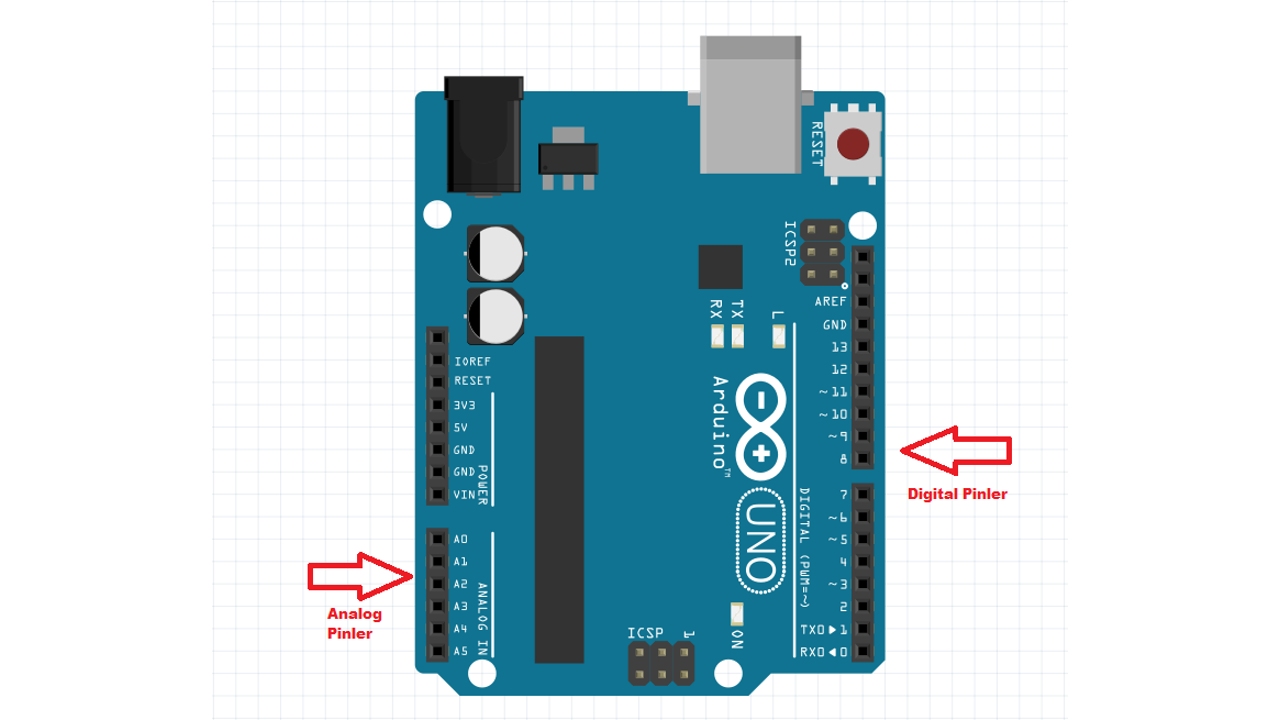
digital pin
Pins that can detect and process a single state, regardless of whether it is open or closed. On most Arduinos 14 female I/O pini is found.
Analog Pin
Pins that sense a range of values, useful for more precise control. Usually on an Arduino six analog pins is found. Also, these two pins are arranged in a particular pattern, which is designed to fit them. add-on card This board will easily fit most Arduino compatible devices.
power connector
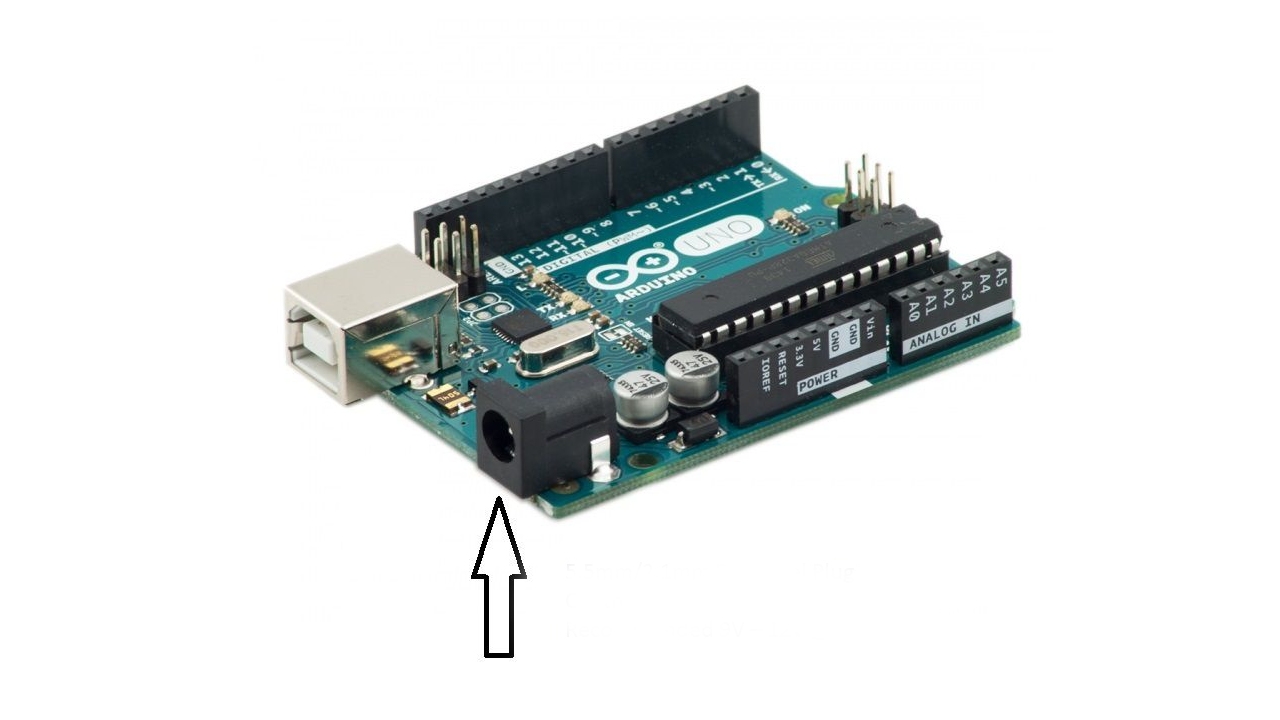
power connector; such as LED and various sensors in exchange for both the device itself and the relatively low power requirements. to connected components provides power. power connector, a to AC adapter or a small to the battery can be connected.
microcontroller
microcontroller, which allows you to program the Arduino to execute commands and make decisions based on various inputs. is the primary chip. This chip varies depending on what kind of Arduino you buy; but these are usually a ATmega8, ATmega168, ATmega328, ATmega1280 or ATmega2560 as Atmel are controllers. The differences between these chips are subtle, but the biggest difference beginners will notice is the different amounts of onboard memory.
Serial connector
A standard on most new cards USB port implemented through serial connector; allows you to communicate with the card from your computer and install new programs on the device. Arduinos can also be powered via the USB port, often eliminating the need for a separate power connection.
Other minor components
Oscillator and/or a voltage regulator making significant contributions to the card, such as fenced components also available; however, you usually don’t interact with them directly. Just know they are there.
How to program an Arduino?
Most Arduino enthusiasts, especially beginners; for Arduino official integrated development environment, well IDE prefers to use. Arduino IDE, Java written with and Windows, Mac and Linux It is open source software that runs on various platforms such as IDE, syntax highlighting and coding It allows you to code in a custom environment, with other features that will make it easier, and then easily upload your code to the device with a simple one-click.
Arduino code is usually Processing based on programming language Wiring is written with.
Arduino programming step by step:
- Step #1: Do a little research
- Step #2: Install the Arduino programmer
- Step #3: Connect your Arduino to your computer’s USB port
- Step #4: Set the card type and serial port
- Step #5: Test the microcontroller
- Step #6: Upload the new code to Arduino
- Step #7: Disconnect the Arduino from your computer and integrate it into your project
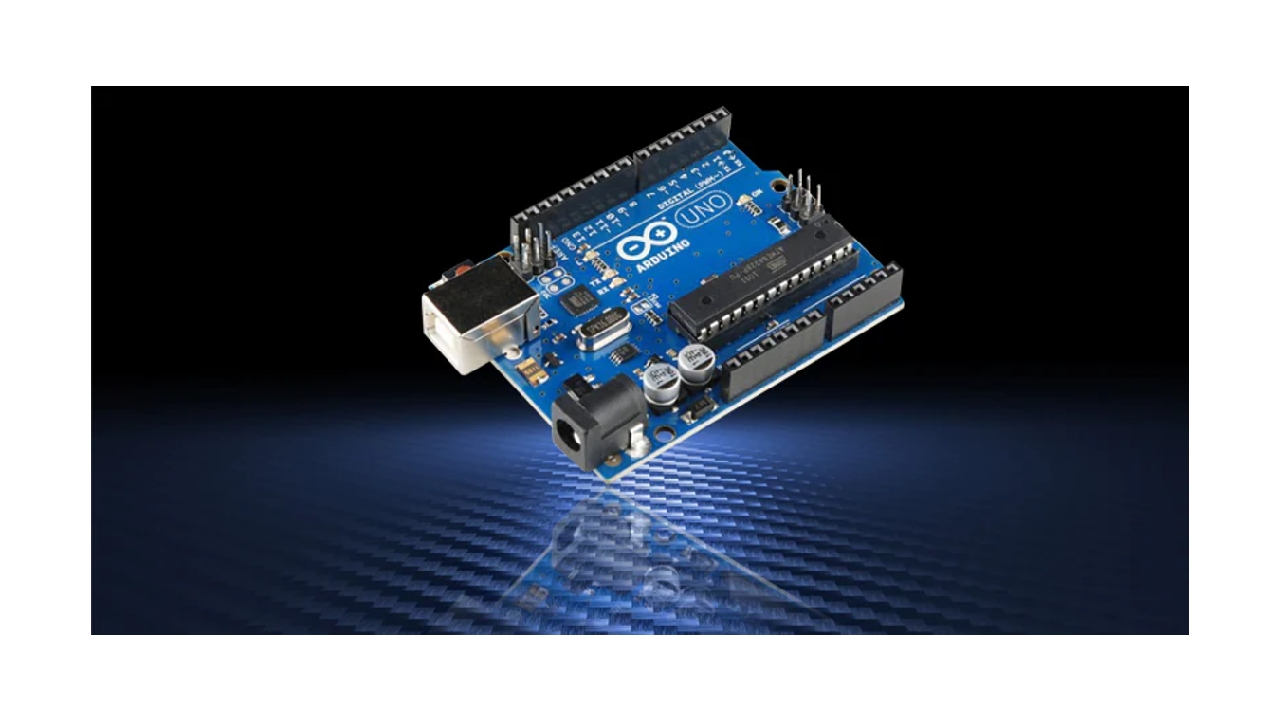
do a little research

Arduino, various microcontrollers uses. The most widely used of these Arduino UNO‘Stop; but there are also some customized variations. So before we get to the build phase, I’ll give you a little thought about which version would be more suitable for your project. research It can be very useful to do.
Install the Arduino programmer
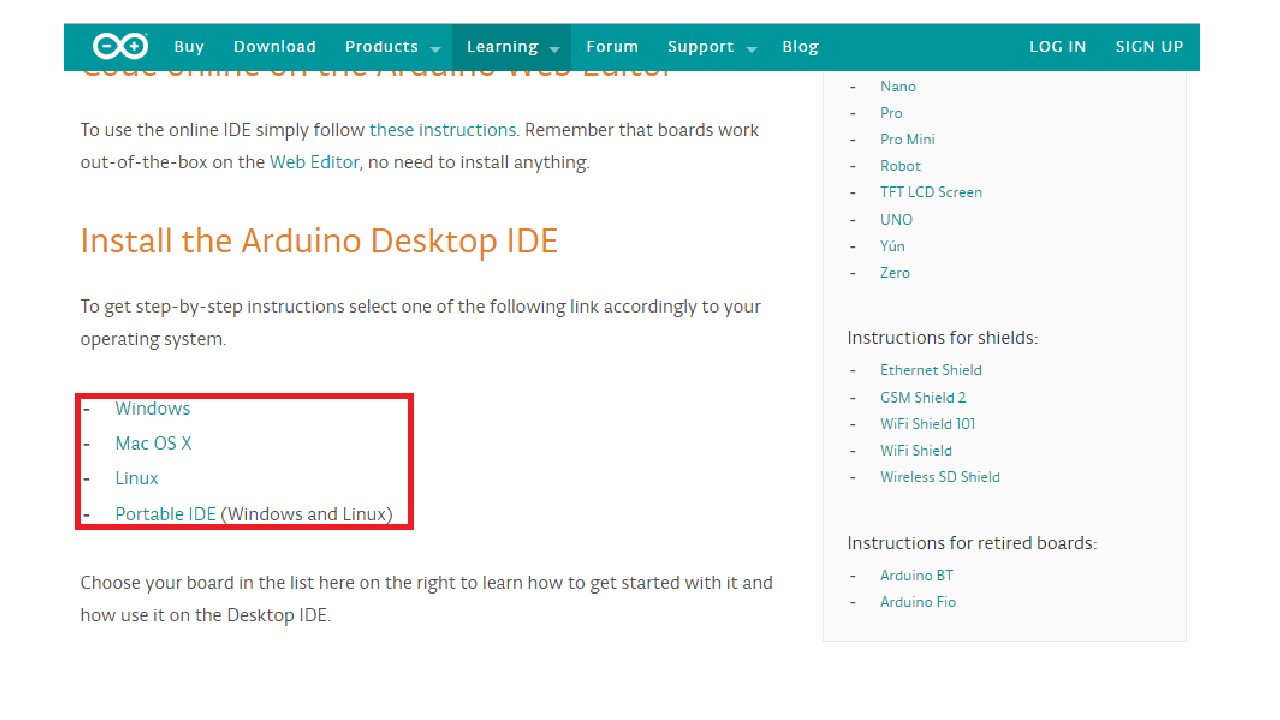
Integrated development program, also known as IDE Arduino ProgrammerInstall the .
Connect your Arduino to the computer’s USB port
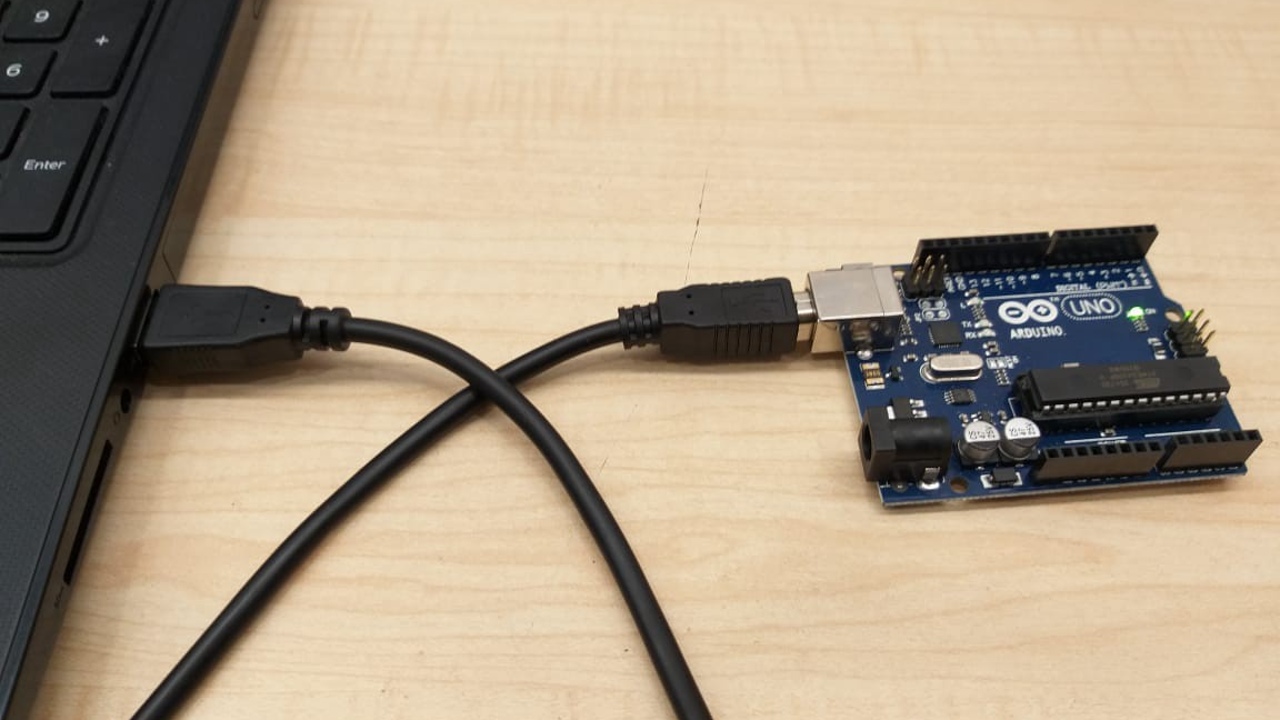
For this process a specific USB cable You may need to use Each Adruino has a different virtual port address it has port so if you are using different Arduinos your reconfiguration may be required.
Set the card type and serial port
There isn’t much to explain for this item; The next step you need to do after you have taken care of the USB port set the card type and serial port should be.
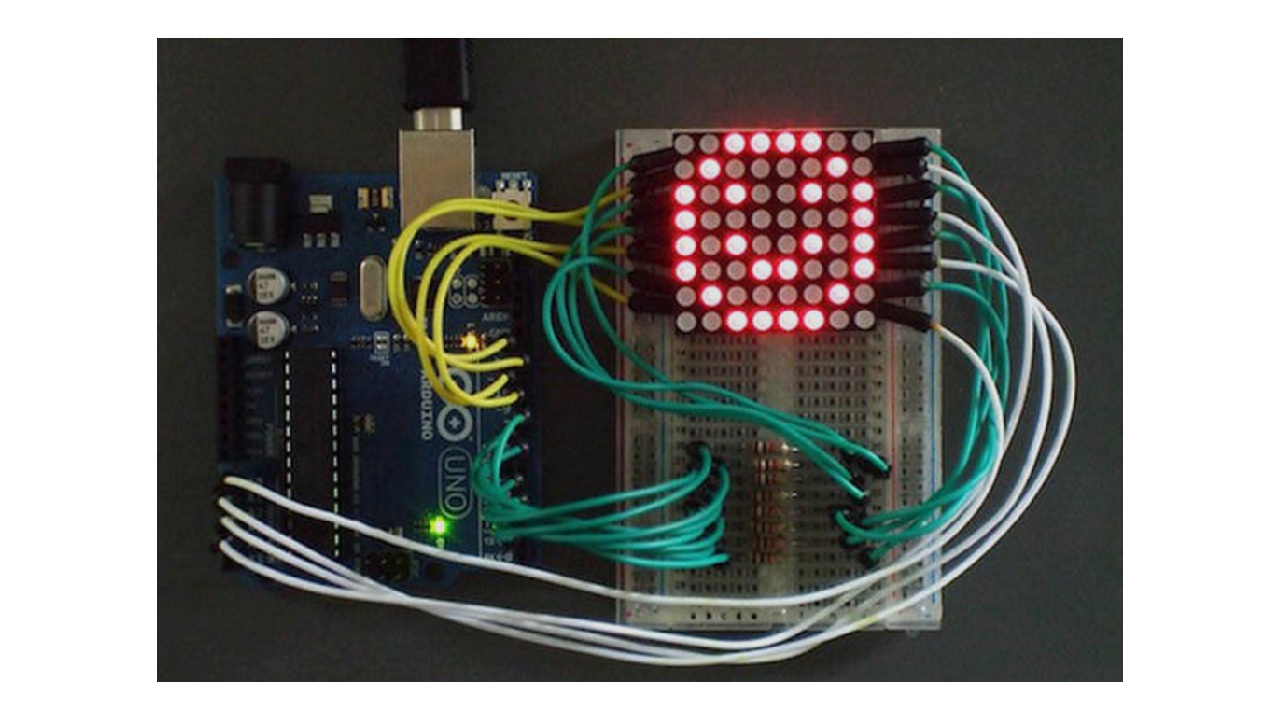
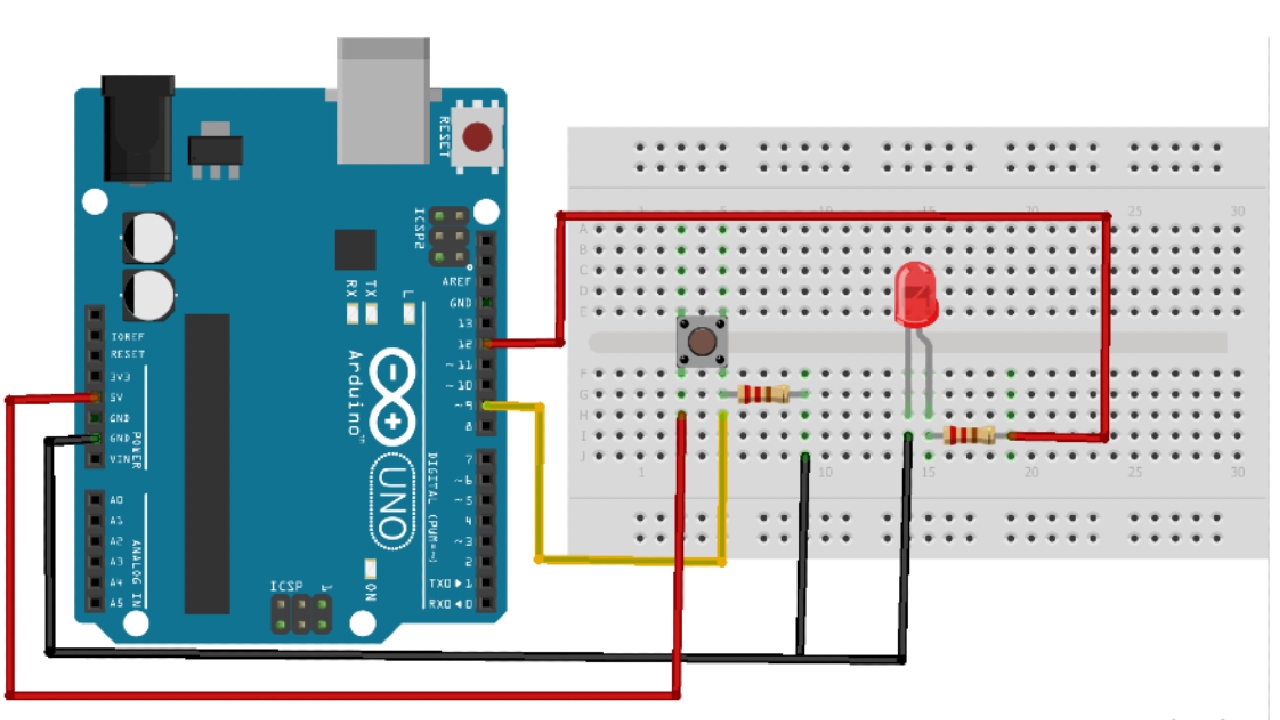
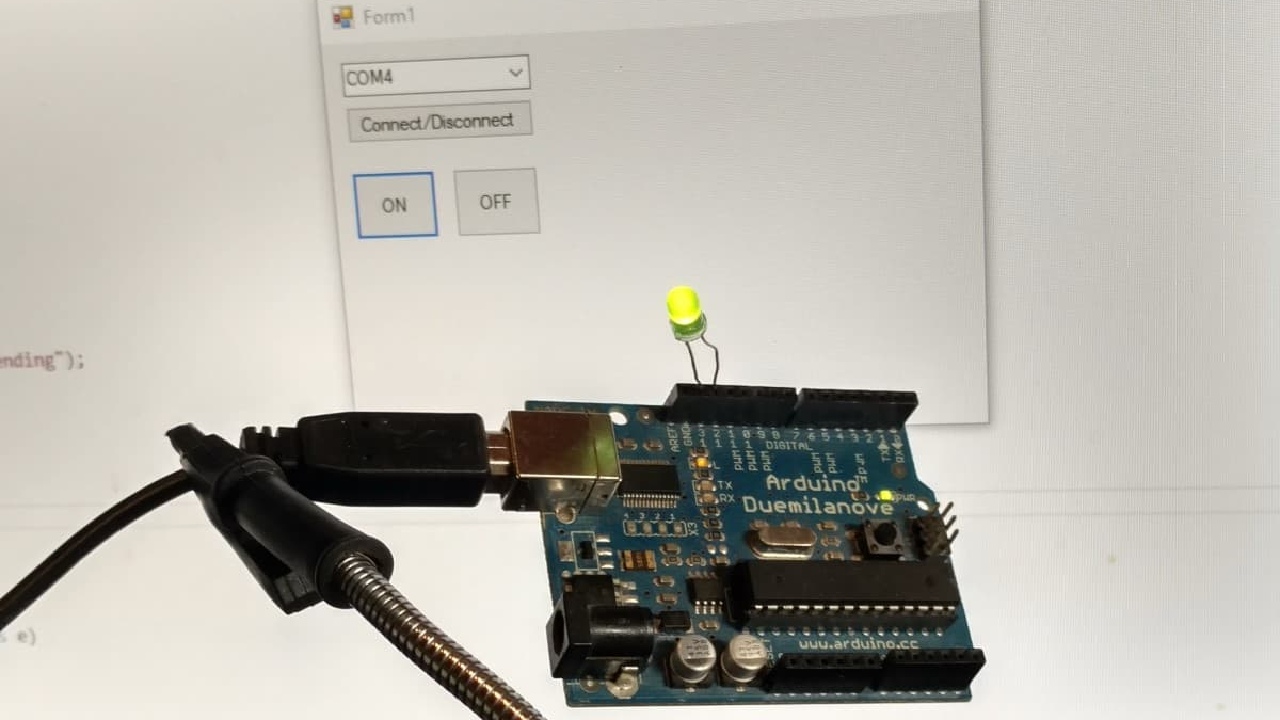
Test the microcontroller
preloaded on Arduino Programmer, draft Test the microcontroller using one of the programs called Open one of the sample templates and click ‘loadAfter you press , the Arduino will start responding to the program: For example, if you set an LED beam to flash, the light will start flashing if you do everything right.
Upload the new code to Arduino
To upload the new code to the Arduino, you must have access to the code that you can copy to the programmer, or if you are going to create your own sketch, you must write it yourself using the Arduino software language. An Arduino sketch is usually five consists of parts:
- A title describing the draft and its creator
- A section that defines variables
- A setup scheme that sets the initial conditions for variables and runs the precode
- A loop pattern where you add the main code that will be executed over and over until the blueprint stops working
- And finally a section where you can list other functions enabled during setup and loop patterns
All the sketches setup and loop must contain order.
Disconnect the Arduino from your computer and integrate it into your project
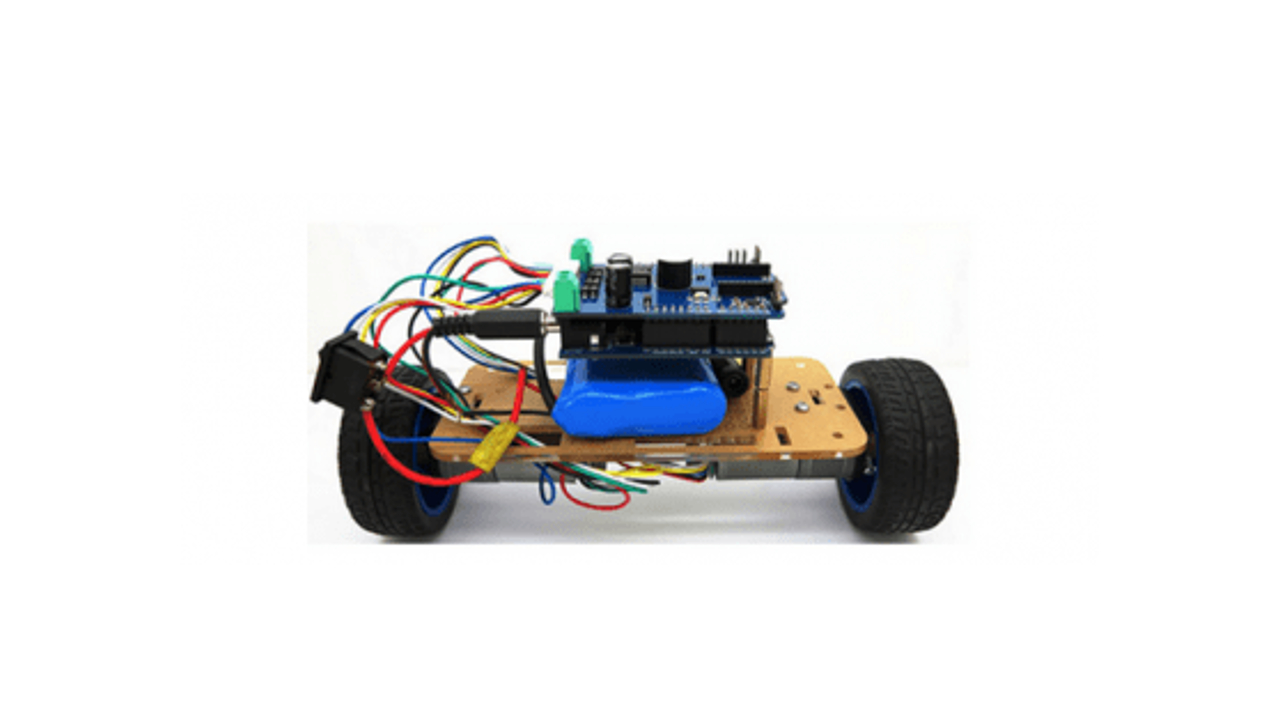
After uploading your sketch to Arduino, disconnect Adruino from your computer and integrate it into your project. As long as you do all these steps without errors, your Arduino will be successfully programmed.
We have come to the end of our article, where we describe Arduino as much as possible, along with what it is, what it consists of and how it is programmed. I hope our article was able to answer some of the question marks in your mind.